




 BFSI
BFSI HealthCare
 Edtech
 SaaS
SaaS Automobile
 Travel
![How to Create Infographics in 10 Steps [With Examples]](https://content-whale.com/blog/wp-content/uploads/2024/05/How-to-Create-Infographics-in-10-Easy-Steps-With-Examples.jpg)
Creating an infographic boils down to the following six steps: setting one goal, defining the audience, selecting an infographic type, planning the structure, creating it in Canva or PowerPoint and exporting it for distribution. First creation takes about one hour if the outline is prepared in advance.
Infographic creation is backed by research. During a two-phase study of medical research abstracts participants had less mental effort when dealing with infographics rather than text-only abstracts (Source). The same study found no significant differences in memory retention after four weeks. Treat an infographic as an easy way to explain the concept, and use the article for details.
Based on the extensive work with more than 2,000 brands, we noticed that those companies that know how to make infographics which really work start with planning it just like a brief article, with one goal, target audience and one concept.
This guide will show you how to create infographics step-by-step, compare the most popular tools for it and share examples of infographics.
How to Create Infographics: Start With Your Audience and Goals
Learning how to create infographics starts with two decisions: who reads the graphic and what that reader should do next. Those answers set the design style, the data and the platform.
A guide for digital marketers can carry benchmark data and compact labels, while a biology infographic for high school students needs plain vocabulary, larger icons and a single concept per panel. Skip this step and the design stalls.

Identify Your Target Audience
List the audience’s job role or grade level, the platforms they use, and what they already know about the topic.
Experienced marketers read dense charts without effort. First-time learners need fewer numbers and a clearer explanation of each one. Pull this information from your analytics, a short survey or a customer call before you open a design tool.
Set Clear Goals
Define one measurable goal: inform readers about a discovery, persuade them toward a viewpoint, or teach a process in a few steps. An awareness goal calls for one headline statistic.
A teaching goal calls for numbered steps with short captions. The tool you plan to use also matters, because Canva suits quick social sharing and PowerPoint suits corporate decks that already live in slides. Write the goal in one sentence and keep it visible while you design.
What Are the Types of Infographics?
Six infographic types cover most use cases, and each fits a different kind of information.
- Statistical: presents survey results or datasets through charts, graphs and compact data callouts that readers can scan in seconds.
- Timeline: shows events in order.
- Process: turns a workflow into numbered steps with one action per step.
- Comparison: places two or more options side by side to show differences in price, features or results.
- Geographic: uses maps.
- List: summarizes tips, steps or ranked items in a structured layout.
Select the Best Format for Your Needs
Start with the question the data answers. Internet usage growth across continents belongs on a map, so a geographic infographic fits. A product launch history belongs on a timeline.
Tool choice follows the format: how to create infographics in PowerPoint suits corporate teams that already own the software and need clean charts, while how to create an infographic in Canva suits creators who want flexible infographic templates and a large element library. Pick the type before you pick the template.
How to Create Infographics: Plan and Structure the Layout
Planning decides how much rework you face later. In our experience, most redesign requests trace back to a skipped planning step.
Formulate Your Message
Formulate your message in one sentence which a reader would remember after reading it for 5 seconds. Every visual should complement your message, remove all elements that do not. Every step in the infographic creation process depends on the message, formulate the message before you start working with the design tool and check all subsequent choices against the message.
Gather and Categorize Content
Before you open your design tool gather all the necessary information including statistical data, quotes, visual information and categorize it according to the degree of its impact and put your key point in the area that catches the eye first usually it is the top left part or middle of the page.
Include a link in the footer of your infographics to every statistics used. The statistics without a source undermine the credibility of the whole project. Templates and drag-and-drop elements in Canva and PowerPoint can be very helpful only if you have all your information collected.
Create Storyboard and/or Wireframe
Create a preliminary storyboard or wireframe before opening your design tool. Wireframe represents the reading order, areas of each section, space for charts and location of a call to action button, so every later design choice has a place to land.
Test two or three layouts, since this step in how to create infographics saves the most time. Choose your infographic template at this stage so it matches the type you selected.

How to Make an Infographic in Under One Hour?
To find out how to create infographics fast, start with limiting each infographic to only one key message and only one layout template. Creating an infographic in an hour becomes possible with a pre-made plan in place. There are five rules that will help determine the majority of the layout.
- Visual hierarchy: create the visual hierarchy by means of using size, color and position to direct viewers’ attention from key messages to supporting facts.
- Color: limit yourself to three or four colors.
- White space: keep white space around each part of the infographic to make its reading easy even for small screens of smartphones.
- Font: use no more than two font types.
- Consistency: use consistent icons, colors and spacing in the entire graphic.
The reader should be able to comprehend the key message, the supporting data and next steps within five seconds after scanning the infographic, therefore, show your work to a friend first.
Add Visual Elements
Choose each visual for the point it proves. Researchers who converted a full text into an infographic for 27 English-as-a-foreign-language students tested both comprehension and memory retention afterward (Source). The takeaway for your own design is to pair every key claim with one visual that shows it.
- Images and icons: match them to the content and keep one visual style.
- Charts and graphs: use bar charts for comparison, line charts for change over time and pie charts for a few simple shares of a total.
- Illustrations: add custom artwork when you want the infographic to look distinct from template designs.
How to Create Infographics With Popular Tools?
Each tool has a different strength. Match the tool to the infographic type, the audience and the deadline.
How to Create Infographics in PowerPoint?
- Start with a template and edit the text, colors and icons.
- Use SmartArt and built-in charts to build comparison, flowchart and cycle layouts without drawing shapes by hand.
- Apply a brand color scheme.
- Export the finished slide as PNG for web or PDF for download.
How to Create an Infographic in Canva?
- Choose a pre-designed infographic template and customize every element.
- Drag and drop icons, shapes and text boxes to build the layout in minutes, then adjust spacing until each section lines up.
- Pull images from the built-in library.
- Download as PNG, JPG or PDF, or publish directly to social media.
Other Design Tools
Adobe Illustrator, Venngage and Piktochart offer finer control for detailed or highly branded work, and in our experience clients who need a branded set of several infographics choose a specialist designer because consistency across the set depends on one person controlling the style. Illustrator has the steepest learning curve.
Real-Life Infographic Examples
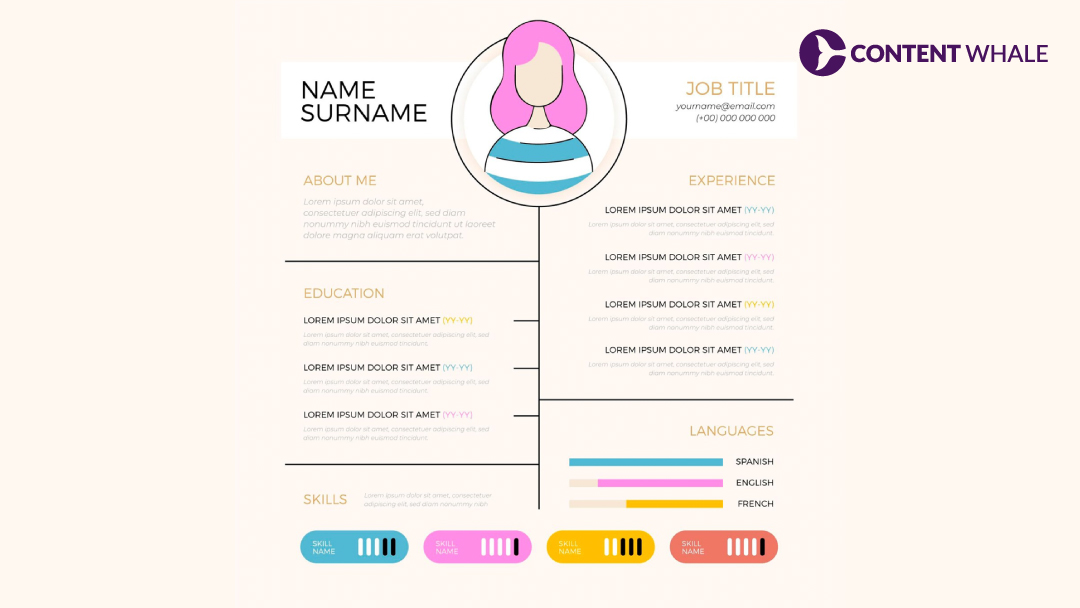
These six examples show how to create infographics for each type. Each one fits format to content.
- Resume infographic: Chris Harrison’s resume uses a timeline to show career progression and skills at a glance.
- Process infographic: the shoe creation graphic walks through each step.
- List infographic: first-time home buyer steps appear in order.
- Timeline infographic: the Pokémon Go graphic maps the key events behind the game’s growth over several years, from launch to the peak of its popularity.
- Comparison infographic: the Type 1 Diabetes graphic contrasts different aspects of the condition.
- Interactive infographic: a plant biology graphic lets users click each part to read more.
Our own case studies for KhataBook, Heritage Hospitals and KnowledgeHut began the same way this guide begins, with the audience first, the goal second and the format third, and each one documents keyword and traffic growth that followed a clear content plan. Review the case study closest to your industry.
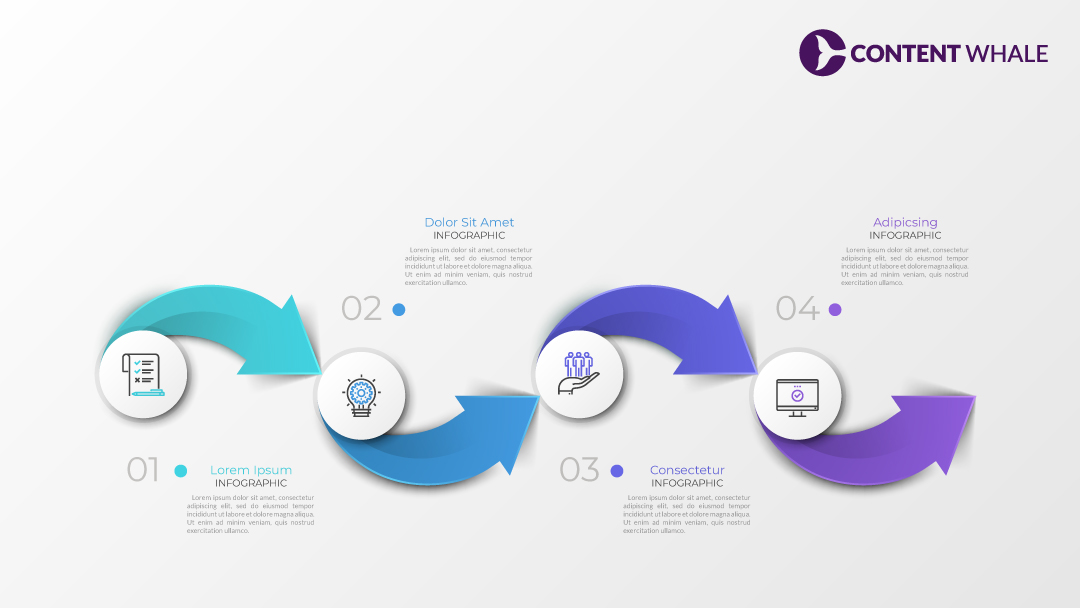
How to Create Infographics That People Share?
A finished design still needs packaging before it reaches readers, and the three steps below cover the title, the call to action and the export.
Choose a Compelling Title and Description
Write a title that states the topic and the benefit in plain words. The description should summarize what the infographic shows in one or two sentences. Include the main keyword, such as how to create infographics, in the title and in the image alt text.
Add Calls to Action
Place one call to action where the reader finishes scanning, such as “Download the full report” or “Get a free quote”, and match it to the goal you set at the start so the infographic ends with a single clear next step. One action converts better than three competing ones.
Export and Share
Export PNG or JPG for web and social posts, and PDF for downloads and print. Check the file on a phone.

Next Steps for Your First Infographic
Follow this sequence to learn how to create infographics from a first draft:
- Define the audience and one measurable goal.
- Select the infographic type that fits the data you collected and the question it answers.
- Write the key message, then sketch a wireframe with the section order and chart placement.
- Build the design in Canva or PowerPoint.
- Cite every statistic, then export in the right format for web, social or print.
Clients who worked with us describe the result in similar terms, with one GoodFirms review titled “Promised what they delivered” and Content Whale holding ratings above 4.5 out of 5 across Trustpilot, Clutch and Google. Contact Content Whale to get a custom infographic built for your brand.
FAQs
How can I start learning how to create infographics?
First, choose the purpose and the target audience, which is the starting point in learning about how to create infographics. Next, choose an appropriate type of infographic (statistical, process or timeline), collect data and use a matching template in Canva or PowerPoint because this allows one to save time spent on the layout creation for a novice.
Which program is better for making infographics?
The easiest program for novices is Canva. It has many templates and a drag-and-drop editor. In case, one works with slides, PowerPoint is great for making charts and illustrators usually use Adobe Illustrator.
Which elements of an infographic should be included in order to make it successful?
An effective infographic consists of an appropriate layout, short text, single message and visual elements supporting the data. There is an easy way to test its effectiveness, if a reader can tell the key idea of the infographic within 5 seconds.
Which aspects should I pay attention to in order to make my infographic special?
There should be consistency in colors, good-quality visuals and logical top-to-bottom progression of information. Interaction elements can be used in infographics if placed online, but only when they add information that a static version cannot show.
How do I make an infographic engaging?
Tell a story with the data. Keep the text short and lead with your strongest number. Make the file easy to share, since readers pass along what they can post in one tap.
What mistakes should I avoid when I make infographics?
Skip overcrowded layouts, mixed fonts and colors, and designs that ignore what the audience cares about. Cite your data every time. An uncited statistic undermines the entire graphic.

 Content Whale – USA


